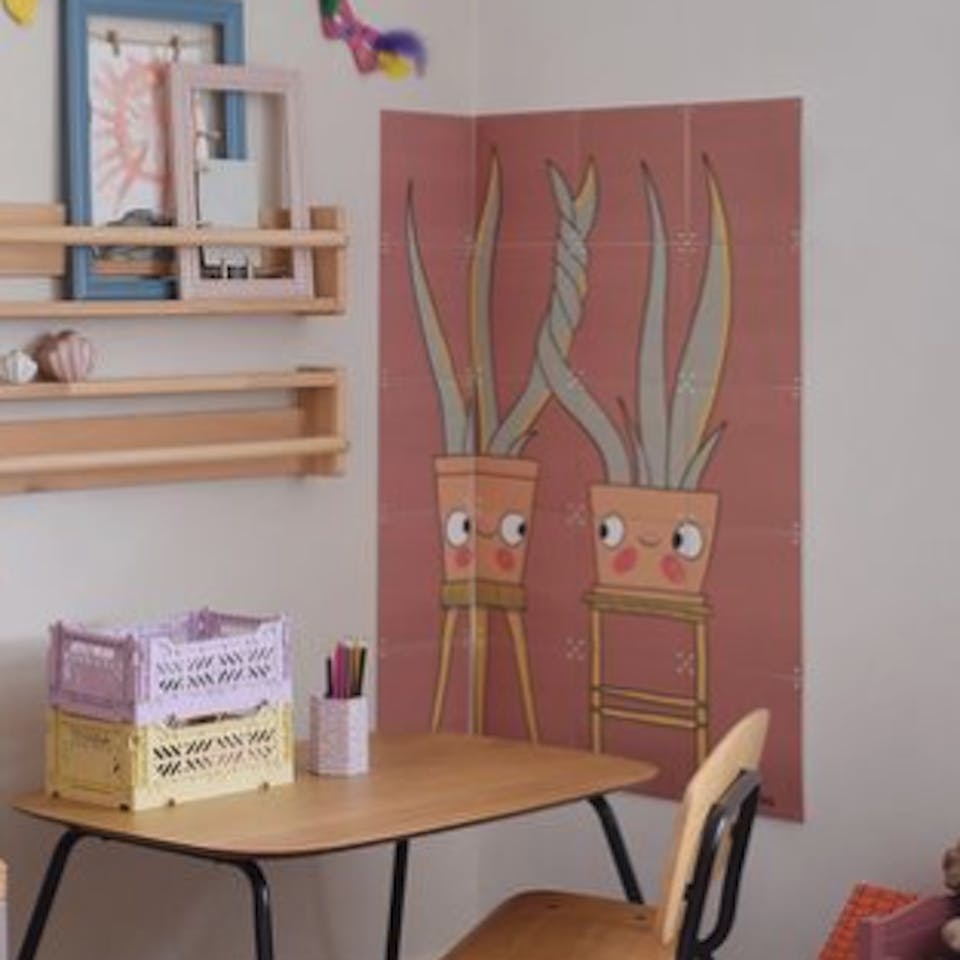
Black-and-white or colorful, quirky or formal and one pic or multiple: the photos in your IXXI can be as wild as your imagination. But did you know there's also more to IXXI-life than just horizontal, vertical, and square shapes? Unleash your inner Picasso and pick one of these crafty display ideas.


7 creative tips for hanging your IXXI wall decoration

1. Cascading
Why settle for a boring staircase when you can turn it into an art gallery? Hang your IXXI collage in a cascading pattern and watch magic happen in your stairwell, or spruce up that funky corner with sloping walls. Ready to climb the ladder of creativity? Read our step-by-step guide below and combine it with the manual to create your own stairway to art heaven.
Why settle for a boring staircase when you can turn it into an art gallery? Hang your IXXI collage in a cascading pattern and watch magic happen in your stairwell, or spruce up that funky corner with sloping walls. Ready to climb the ladder of creativity? Read our step-by-step guide below and combine it with the manual to create your own stairway to art heaven.


2. Around the corner
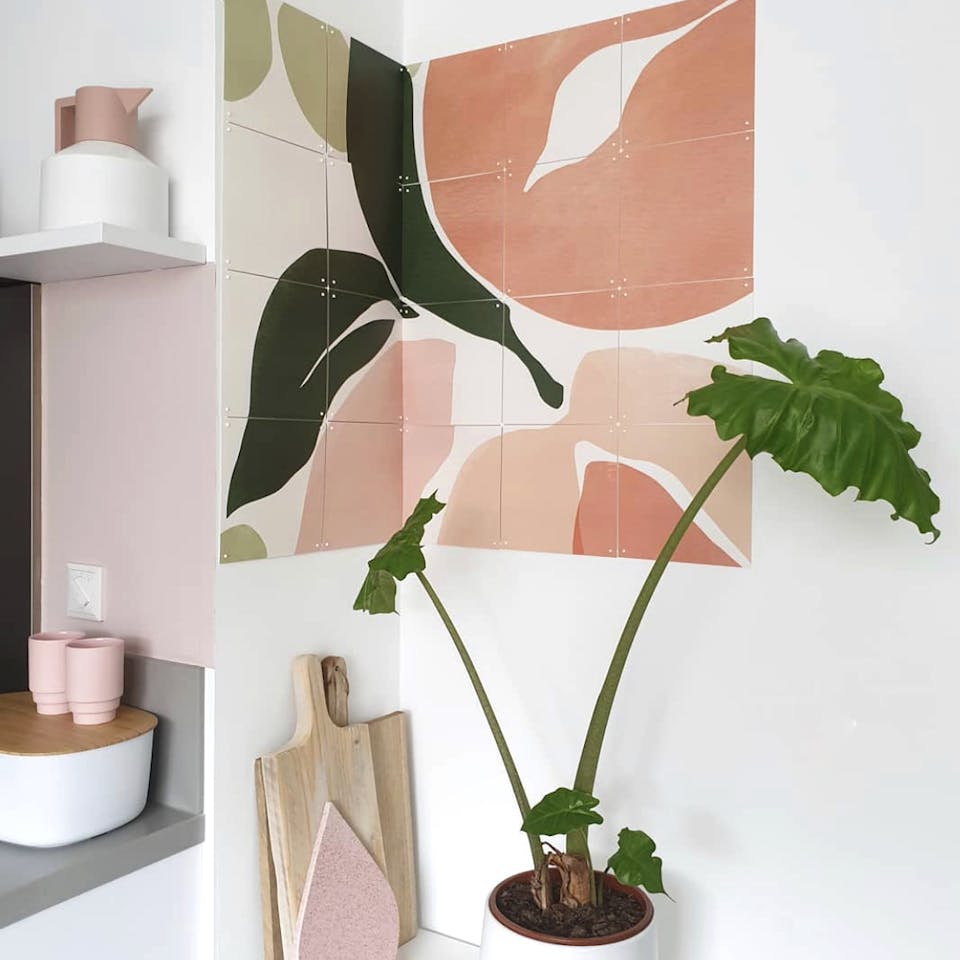
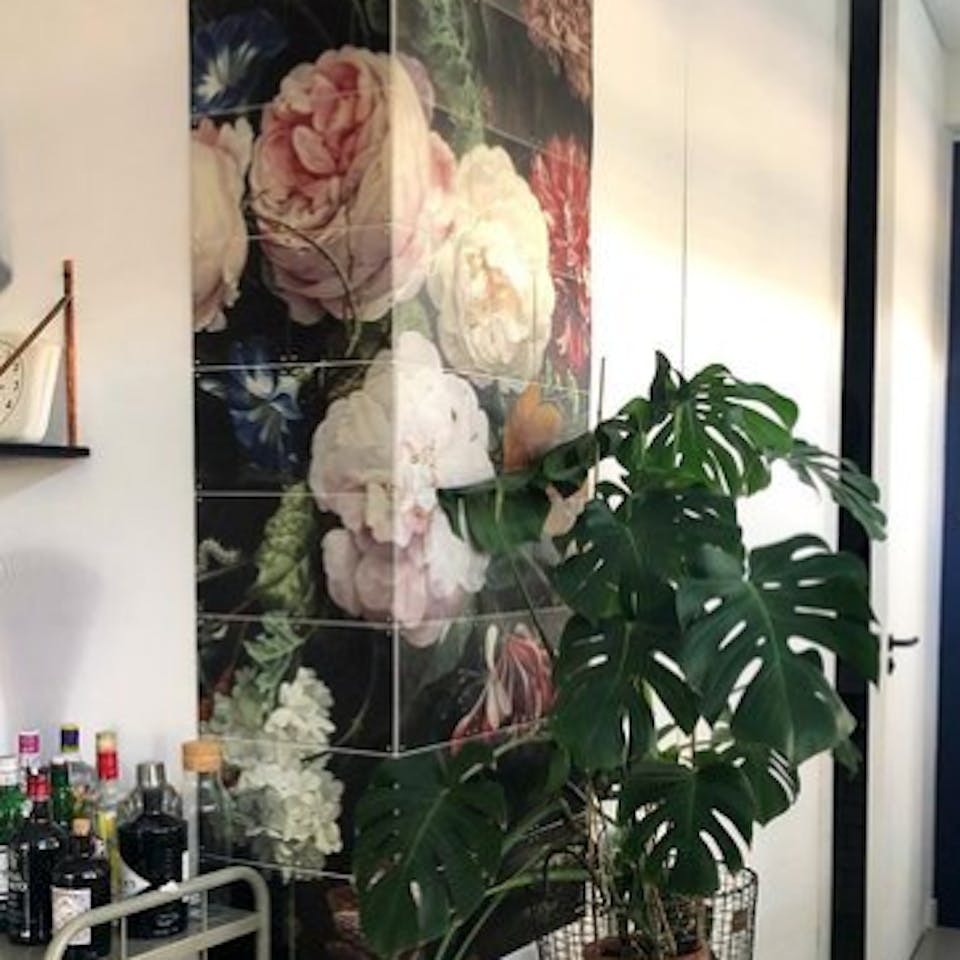
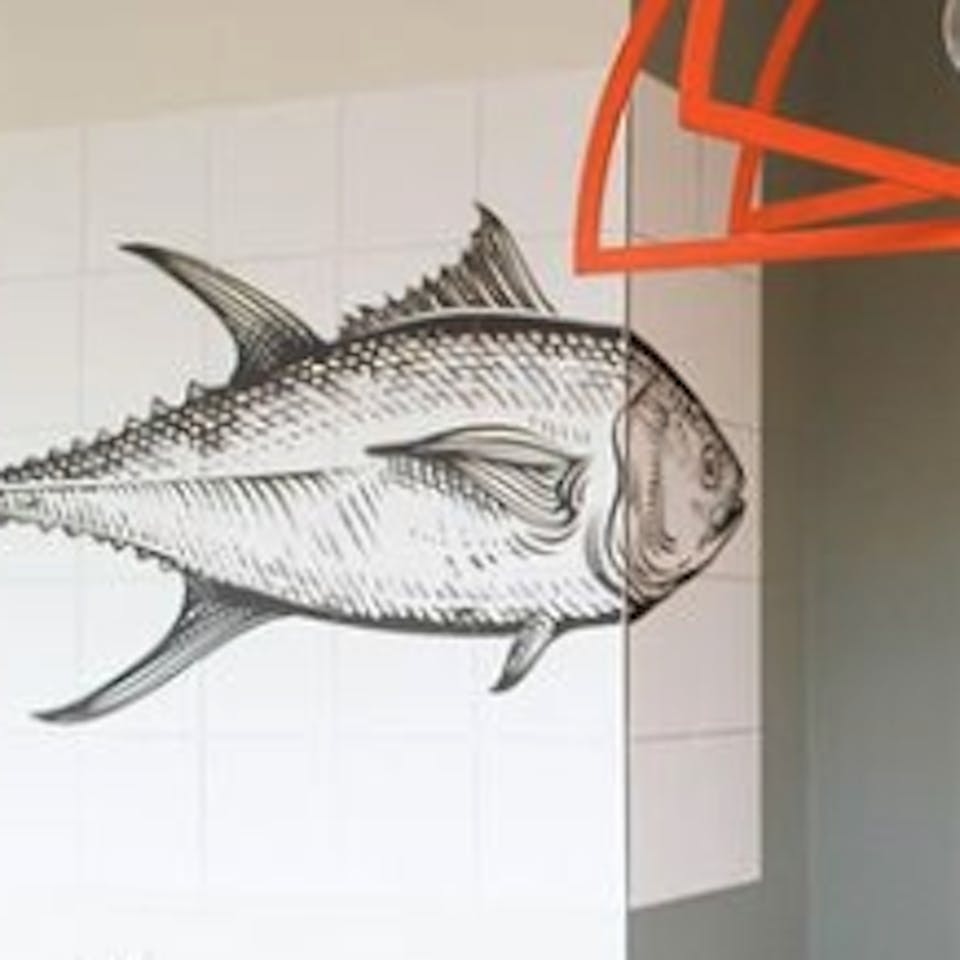
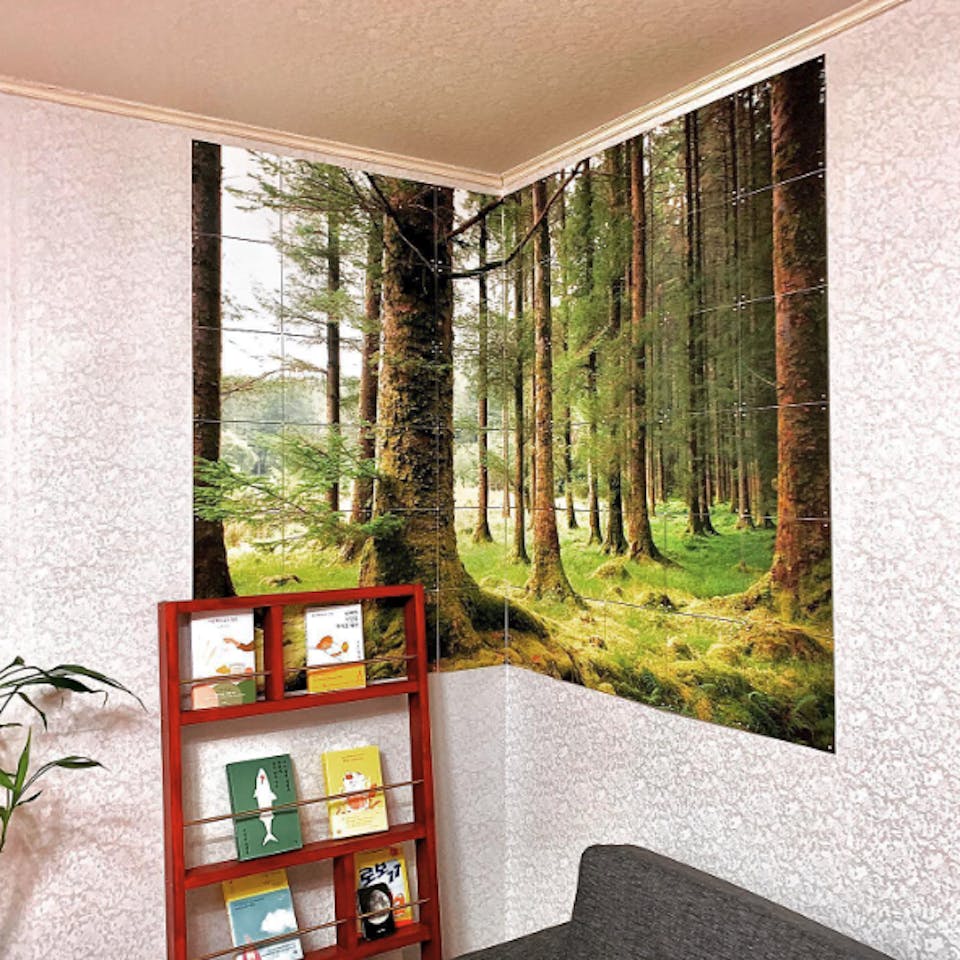
You know that awkward little nook in your home begging for some love? Fear not – IXXI to the rescue! Merge two photo enlargements or choose a piece from our collection and let the corner adventure begin.
How to corner like a boss: Divide your IXXI into two parts and connect them as two separate IXXI's. Hang these independent parts according to the manual.
✨ Tip: using a single image for your corner escapade? You might need some extra connectors. Don't worry, our expansion kit has got you covered!
At our customers' cribs:

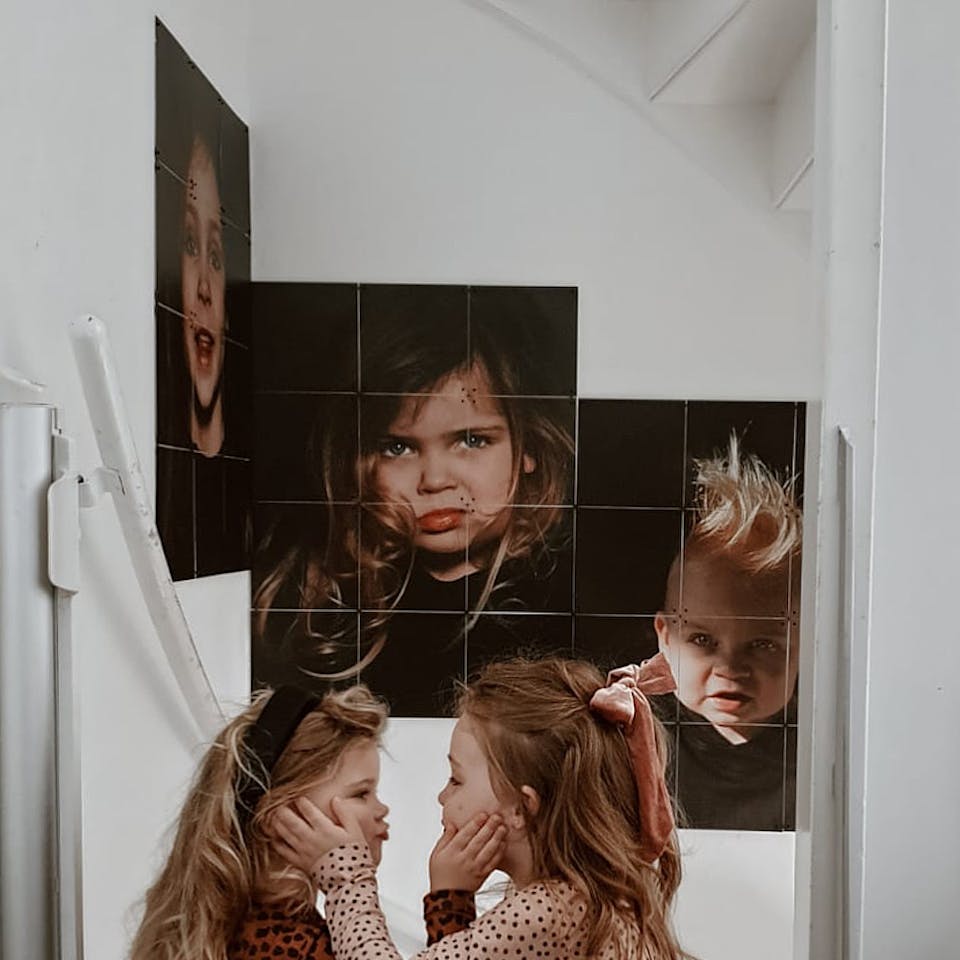

3. Split style
Create a different view from every angle by splitting and hanging your IXXI in separate segments. It's like giving your wall a double life.
How to "nail" the split look (So to speak, of course: split IXXIs don't need drilling and nails either!): Lay out your IXXI cards in order and decide where to make the split. Voilà! Now you have two distinct parts. Click these parts together as separate IXXI's and put both the fragments up. Let's divide & conquer!
✨ Tip: Double the fun, double the connectors. With two 'new' sides, you might need extra of those. Our expansion kit is your best friend here:


4. Garland
In Dutch, we have a saying: "Life is a party, but you have to put up the garlands yourself". This is where IXXI comes in handy. You can turn your collage into a garland in no time!
How? By connecting your favorite images only at the top with I-connectors. Mix & match endlessly and make the garland as long as you want.
✨ Tip: some cool ideas for themes for your garland:
arrange your photos in chronological order / add an appropriate quote for the occasion / alternate the photos with cheerful patterns

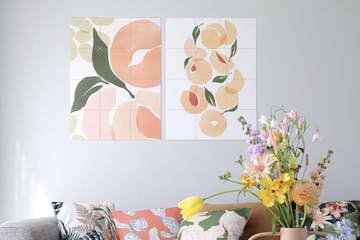
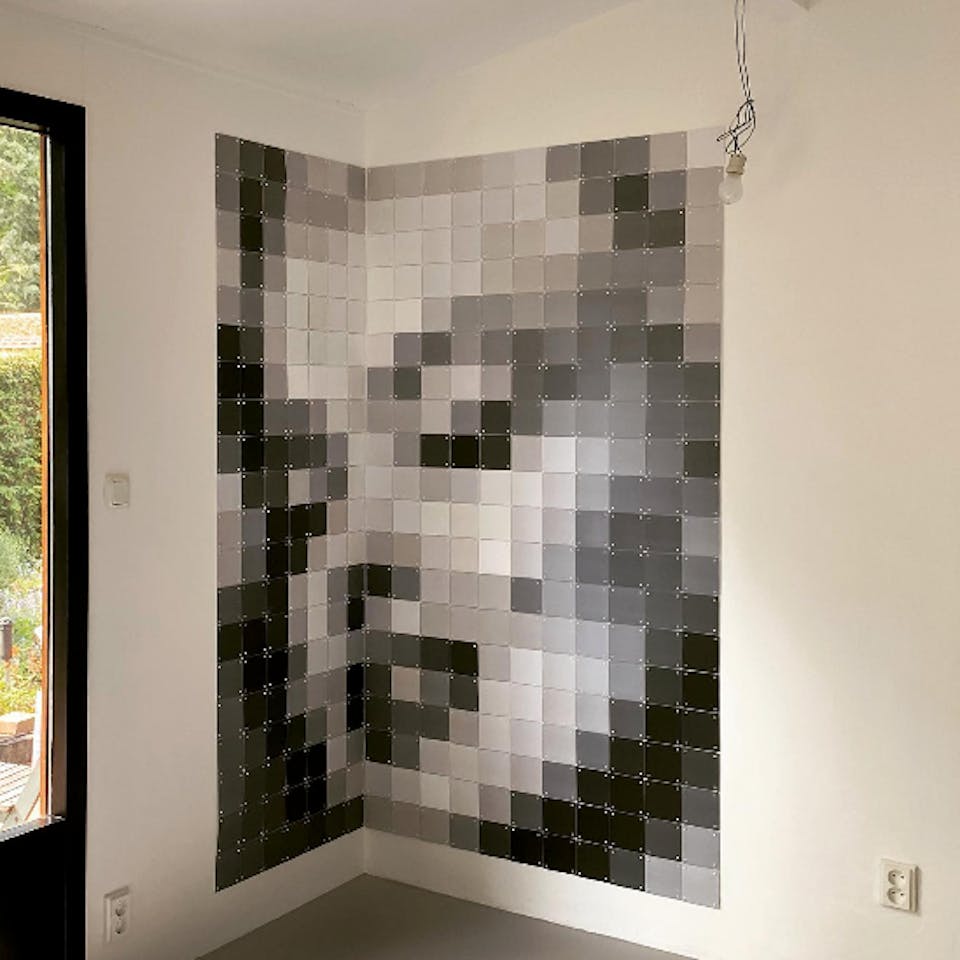
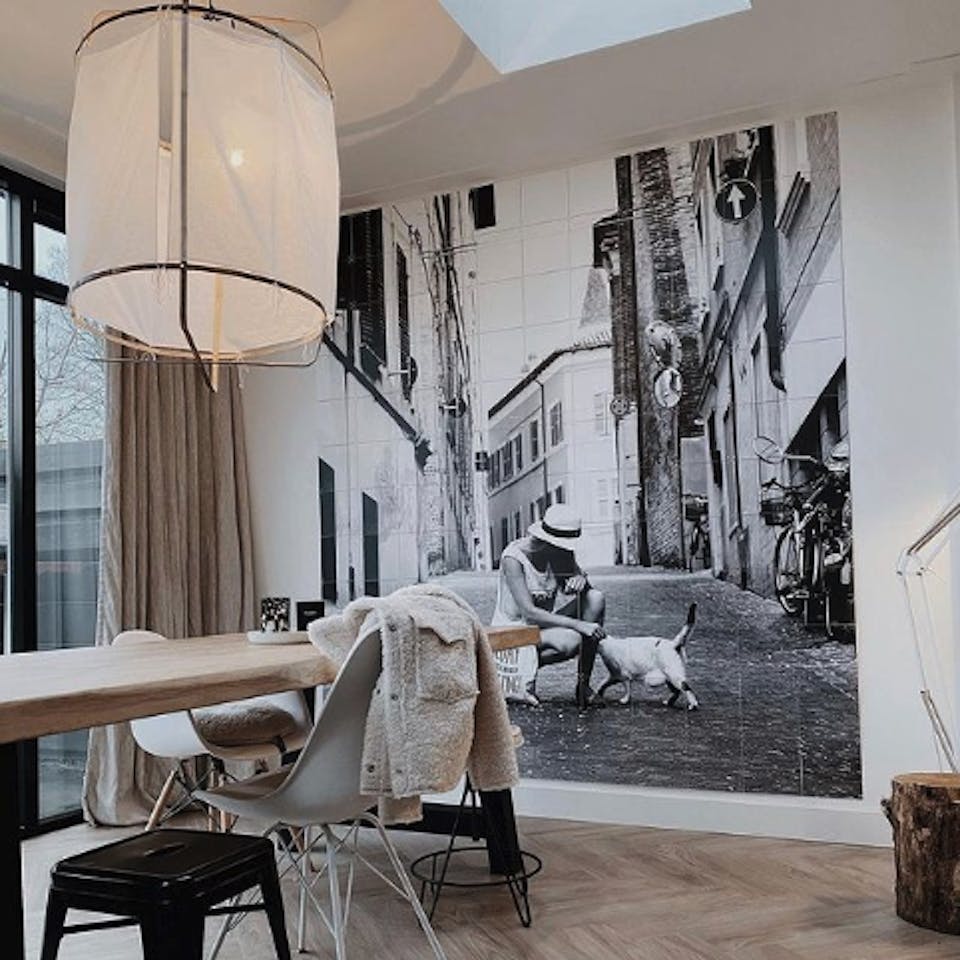
5. Wall-to-wall
Since an IXXI consists of separate cards that you click together, there is no limit to the size of your wall decoration. The only limit is the size of your wall. So, start creating your own wallpaper-like IXXI and build your own wall-to-wall wonder.
Since an IXXI consists of separate cards that you click together, there is no limit to the size of your wall decoration. The only limit is the size of your wall. So, start creating your own wallpaper-like IXXI and build your own wall-to-wall wonder.


At our customers' cribs:

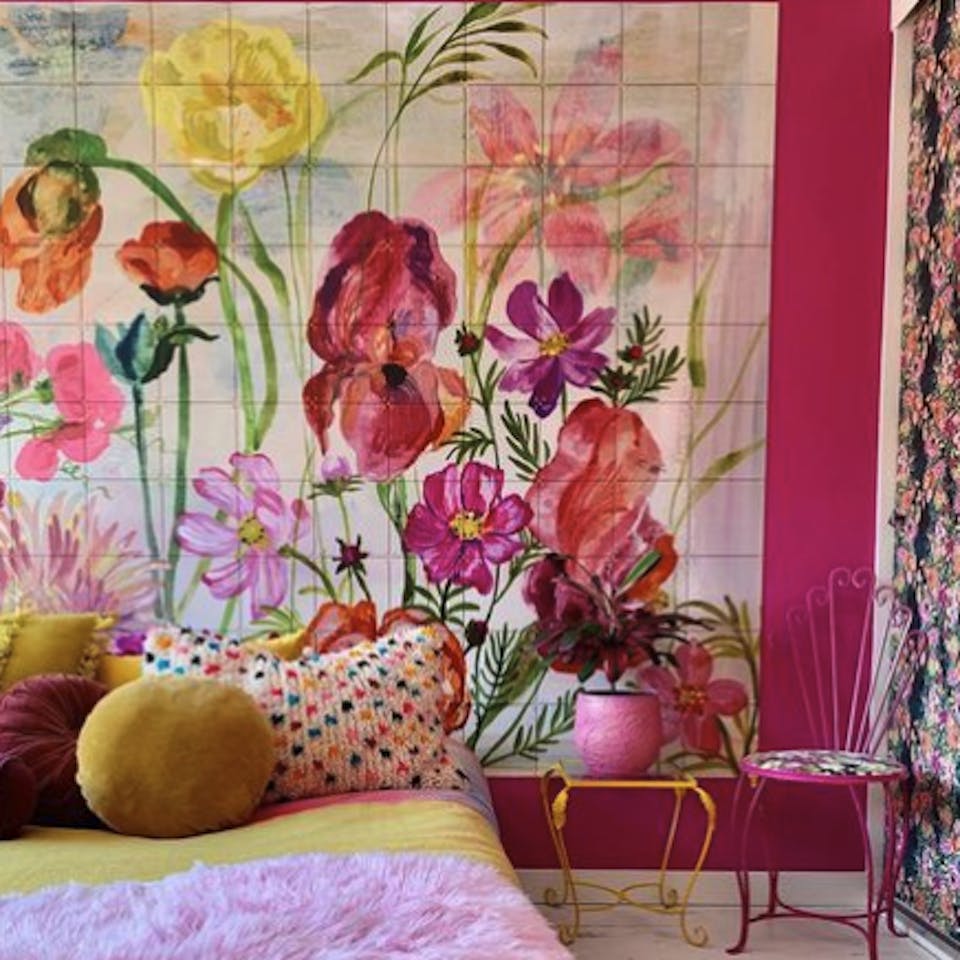


6. Gallery wall
Can't pick just one favorite? No worries, you don't have to! Gather everything you love and create a stunning gallery wall with IXXI.
How? Start by choosing the perfect wall for your gallery. Then, pick your favorite images and desired size. The final step? Compose your dreamy display!
✨ Tip: what suits your style and interior? A playful mix or do you prefer order and structure? Check the inspiration article for tips & tricks:


7. Room divider
Last but not least: turn your IXXI into your very own room divider or stylish partition. All you need is a curtain rail and an IXXI.
Here's how: Mount the curtain rail to the ceiling and assemble your IXXI. Replace the wall clips in the top row of cards with X-connectors. Slide the protruding ends of the X-connectors into the rail. That's all!
✨Tip: Not sure if your chosen curtain rail is suitable to hang an IXXI from? Bring an X-connector to the store and try it. If the X fits..